|
| Hardware Parts Accessories |
|---|
| Electronics |
| Guitar Wood and Kits |
| Tools |
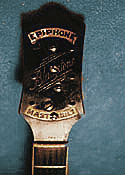
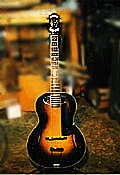
The instrument was a 1930's Epiphone "Masterbuilt Blackstone".
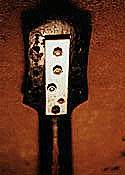
It had been much loved, and much played by its original owner.Somewhere along the way the headstock incurred a nasty break,which was repaired by its owner in a crude but effective manner. When it came into the shop it was playing just fine but its new owner, a descendant of the original owner, wanted it restored to its original look, because, frankly, it was pretty ugly with that metal plate holding the headstock together! Headstock replacement can be disastrous if you are not careful, but with a little forethought, an eye for detail, and of course the right tools, it can be both successful and a good challenge.
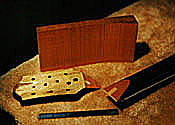
I decided to save and reuse the distinctive headstock cover plate which had been cracked and had five holes drilled in it. I felt that restoring it would be easier than re-making it. It would also be the template for the new headstock.
The first step was to carefully remove the headstock cover plate with thin palatte knife. I warmed the knife on a heating element and it slid into the glue joint fairly easily.
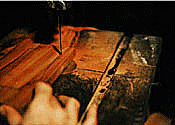
Next, the remaining wood of the head had to be removed. The location and angle of the cut are crucial. The angle shouldn't be too shallow and it need not be too steep. I made a cut at about 30 degrees relative to the plane of the fretboard. I allowed the cut to end sightly ahead of the nut location on the headstock. This extra bit of old wood would be crucial to establishing the proper angle of the new headstock. It should be noted that in this case there was no metal re-enforcement rod to contend with, although in many cases there is.
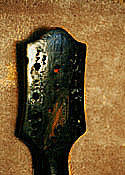
As in many of lifes adventures luck always plays a role(for better or worse) , and in this case I happened to have a couple of old ( I mean old!)Mahogany neck biletts that had been given to me a few years ago by a friend who is in the antique business. These pieces of wood were the right size, there was enough that I could find the grain orientation I wanted, and darned if it didn't have the look and feel of the the wood of this 1930's neck I The stability of such a crucial joint could be compromised by mating two pieces of wood that were not equally dry or whose grain orientation was wildly dissimilar, but I seemed to have the perfect piece of wood. I thicknessed a piece of the mahogany and then, using the old headstock veneer as a template, traced the pattern onto the wood. I then cut it out with my bandsaw. I established the proper angle to match the angle on the now headless neck by eye . The slight bit of wood remaining behind the nut served as a guide to help me. Once the new head fitted flush to the neck I glued and clamped it in place. 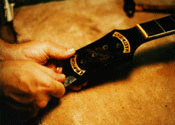 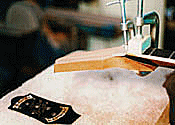 The pattern of the head had been cut on the bandsaw but I left extra wood where it would be glued to the neck. This was then carved away and then shaped with a rasp and finally sandpaper to blend with the neck. The headstock veneer was then glued back on and the tuner holes drilled. 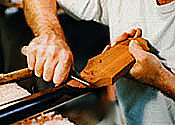
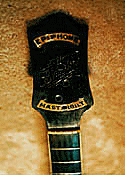
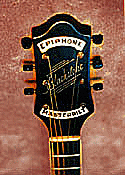
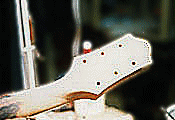 The five holes in the headstock veneer where the screws had been were filled with black epoxy and then leveled. One hole went trough the gold leafed etched "k" in "Blackstone". This area was re-etched and then later re-painted with gold leaf paint. Similarly, the "ER" in "MASTERBILT" had been drilled through, so that was re-carved and painted. The logo areas on the face were masked and the entire headstock was sprayed with black gloss laquer, and then a couple coats of clear. After a week it was polished out and "Voila!" 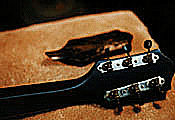
 |

