|
| Hardware Parts Accessories |
|---|
| Electronics |
| Guitar Wood and Kits |
| Tools |
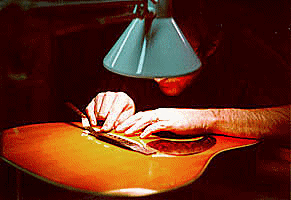
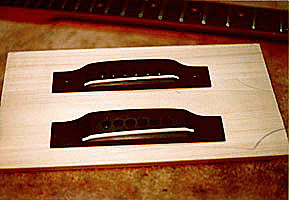
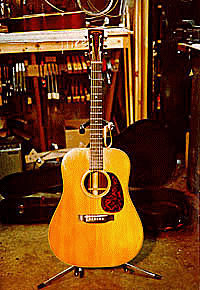
It is not unusual for the bridge on an acoustic guitar to begin to separate from the top of the soundboard. This can happen for a variety of reasons. It could have been poorly glued from the start. The glue could have been weakened by heat or cold (i.e. sitting too long in the back of a car). Sometimes a brace inside has separated from the top, causing the top to "belly", or bulge up (note: some "bellying" can occur naturally). The bridge is stiffer than the top wood and does not flex as the top wants to do, so it separates. Sometimes a bridge will split along the string pin holes, and eventually separate from the top. The bridge must then be carefully removed and reglued or replaced. Bridges are usually glued on with either hide glue, or white glue. Both of these glues are forgiving to the repairman who is careful. Other glues are used though, so one has to be alert. The job pictured here is to remove a bridge from a 1941 D-28. In this case the original bridge had come loose at some point, had been removed and reglued sloppily, and then dowels were inserted on either wing of the bridge. This made for a rather distracting appearance on an otherwise impeccable example of a rare guitar. The decision was made by the owner to have the bridge replaced. The bridge would originally have been glued on with hide glue. Hide glue is very strong, but very brittle. Once the edges have been loosened a judicious tap with a chisel and hammer will pop a hide glued bridge right off. In this case the bridge had been reglued with either white or yellow glue. Also, chips of spruce had been lost in the first job, but no effort had been made to fill with either lacquer or wood. Instead, globs of glue filled the chips. I didn't want to risk tearing out any more of the top, so I went at the edges of the bridge with a very thin knife, slowly working my way around the edges. The bridge was not at all loose, so I had to take extra care. Slowly, over the course of an hour or so, the bridge came loose with minimal loss of spruce. 
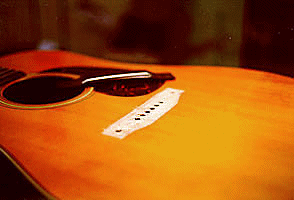 In some cases heat is applied to the bridge, either with a heat lamp or specially sized heat pads, to soften the glue, but in this case I chose not to use it. The Martin company no longe sells replacement bridges for non-warranty repairs, so a bridge must be either hand-made, or purchased from an after-market supplier. Ideally, the new bridge is fitted as closely as possible to the foot print of the original bridge. The bottom of the new bridge must also be fitted to the contour of the top. Finally, a bone saddle is fitted to the length and width of the slot in the new bridge. In the interest of good cosmetics, I filled the missing spruce chips with nitrocellulose lacquer. Filling the five or so chipped areas was done over the course of the next few days. Nitrocellulose lacquer is highly evaporative, therefore many coats must be applied between drying periods to build any thickness. 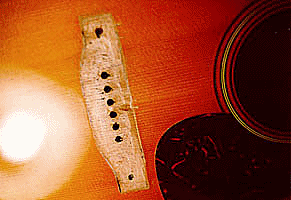
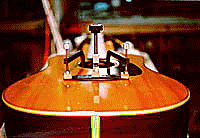
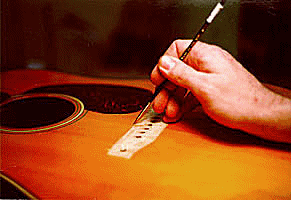 After the finish work has been completed to satisfaction, the area of the top where the bridge will be glued is cleaned of old glue and sanded smooth. Then the saddle is fitted to the bridge. In this case the bridge has the vintage "long saddle" slot similar to a classical bridge, except that there is a graceful curve to which the saddle must be fitted, (as opposed to the traditional right angle seen on classical guitars. The bridge is positioned correctly, (taking into consideration the final location of the saddle for proper intonation), glue is applied and the bridge is clamped with, in this case, three deep throated clamps.
  Don't ever try this yourself until you have seen it done by someone who knows what they are doing, I didn't. I only offer this information so as to provide a glimpse into the world of instrument repair, not as a guide for would-be repairpersons. |
